现在很多用户的电脑除了cpu上有核心显卡外还单独配置了独立显卡,通常win10系统下会默认使用核心显卡,只有在运行大型程序才会调用独立显卡,如果我们想全程使用独立显卡要怎么开启呢?
Win10独立显卡如何开启?
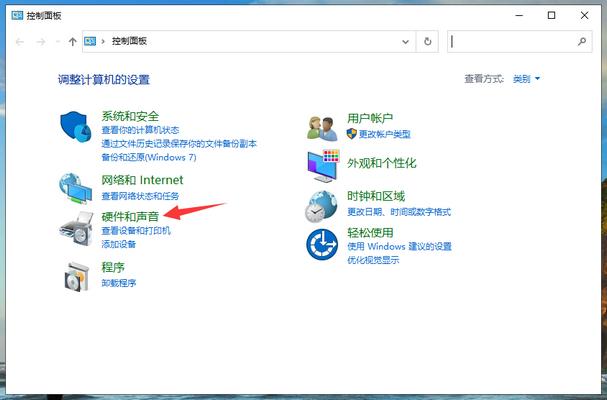
1、由于小编电脑上用的是英伟达的显卡,所有下面就以切换使用英伟达独显为例。打开控制面板,点击“硬件和声音”。
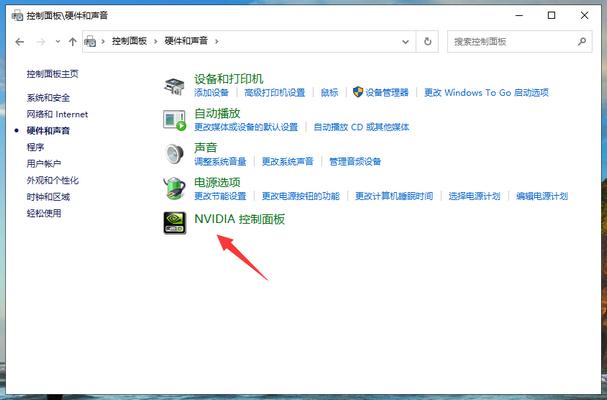
2、选择下方的“NVIDIA控制面板”。
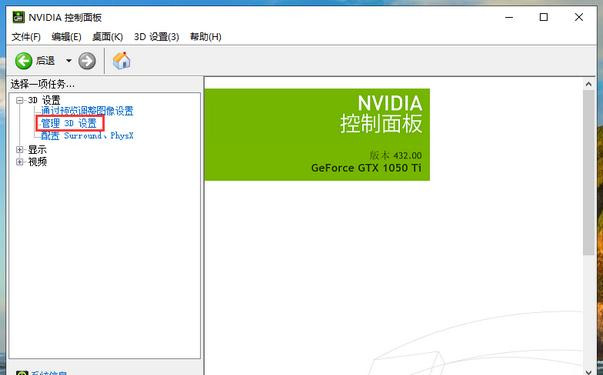
3、在NVIDIA控制面板中选择“管理3D设置”。
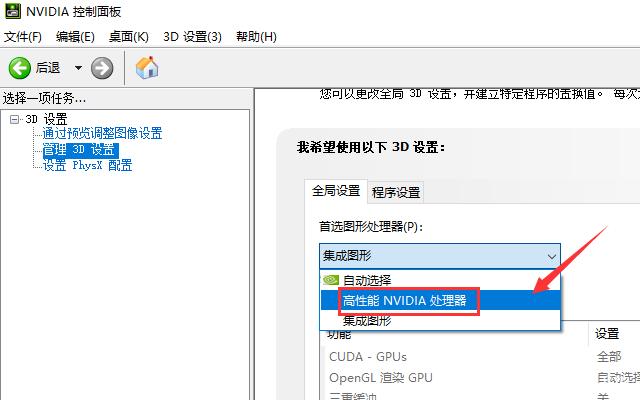
4、在“全局设置”下,选择“高性能NVIDIA”处理器就能切换使用独立显卡了。
如果在控制面板内没有找到独立显卡的控制面板,很可能是独立显卡的驱动没有安装成功,重新安装显卡驱动即可。